

At the moment I have an average item level of just 463. This is totally sufficient for the purpose of soloing Ulduar 10 as there aren't a ton of fights that end up being a DPS race. I was spec'd as a guardian for all of the fights except for Yogg, which is a fight where burst is worth more than survivability. Here is a short rundown of each encounter:
Flame Leviathan:

This fight is an absolute joke with a 463 item level. The most time consuming part about the encounter is getting there, destroying any towers you want down, and killing all the adds. I did the first part with a demolisher, using the repair pads once or twice. Once all the mobs were dead, I engaged the boss and wiped. Upon zoning back in, you have a full complement of vehicles parked outside the encounter area. Just jump in a catapult, get to max range, and tell FL what's good. Empty your pyrite, then hit a few ranged attacks and the boss will be dead before it's even in melee range.
Razorscale:

Another joke of a fight. Kill the adds, use the turrets, burst the boss down so it stays on the ground, then tank and spank. Nothing special to note here.
Ignis the Furnace Master:

A tank and spank with an achievement for a speed kill. I got the kill and the achieve with about 20 seconds to spare. Put your back into it.
XT-002 Deconstructor:

Another simple tank and spank. I wasn't feeling adventurous enough to try the heartbreaker achievement, but I feel it would be pretty easy. Killing the exposed heart before it despawns is almost a given, even without DPS cooldowns. Kill the adds that heal the boss (scrapbots?) if you want.
The Iron Council:

Easy if you kill Steelbreaker first. Hard if you don't. Don't stand in bad.
Kologarn:

Easy, but don't attack anything but the body. I had one of the arms die due to thrash/cleave damage, but I found that if I tried to attack the arms directly, the boss would despawn.
Auriaya:
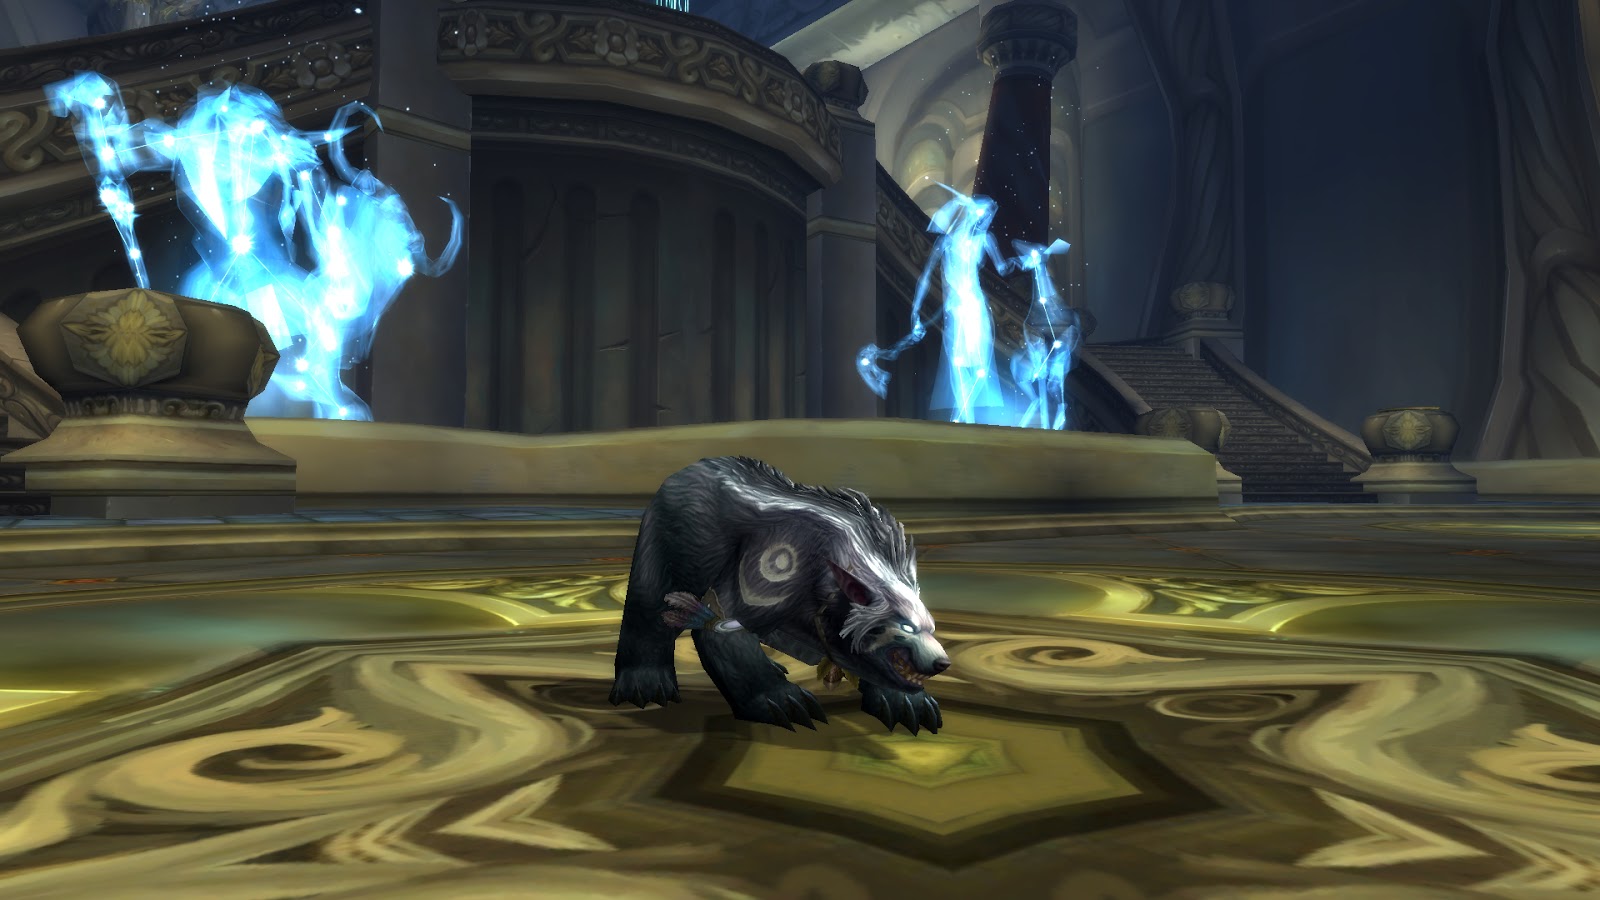
Be sure to kill the adds on this fight as they stack a bleed that will eventually hurt your bear ass.
Hodir:

Get on the big snow piles for flash freeze and you're good. Also, use savage defense when the boss gains frozen blows as the melee hits can hit for a decent amount. Be sure to get the NPC's out of their frosty prisons as the buffs around the room will help you kill the boss faster. I didn't get the speed kill the first time around, but I think it may be doable. Remember to move continually to avoid stacking that nasty damage debuff.
Thorim:

One of the first fights I encountered that I thought wasn't doable at all. You engage the adds on the ground, kill them, but when you go into the tunnel you get oneshot by a giant static ball of death. There's a trick to this. Part of it will require you to spec into Force of Nature.
Step 1: Kill the adds on the floor of the area, kiting the last one over to the lever so you can kill it there. When it dies use the lever, run in and aggro the big mob at the end of the tunnel, run back. Use dash and stamp roar here.
Step 2: Takes pretty precise timing. When you run back out of the tunnel, everything but the big mob will despawn. Get back into the big circle thing in the ground, wait for the mob to charge you, then immediately move to step 3.
Step 3: Pop force of nature, use the "move-to" ability to set your trees in the big circle, put them on passive. As soon as that's done, run back into the tunnel. When the gate closes, spam click "defensive" mode on your trees so they aggro the adds that spawn out there. If you did it right, the adds will come to you in the tunnel. If not, you're pretty well trapped with no way to get out or die. I had to hearth a few times while I learned this.
Step 4: kill everything but the Captain. If you do happen to kill him, it's a failed attempt. Keeping this mob alive with you through the tunnel is what allows you to actually engage the boss. Make your way through the mobs in the tunnel, killing them all. Once you get through the door at the end, go out to the gray strip in between you and the boss. Kill the Captain and wait for Sif to enter the RP. Run your ass out immediately and aggro the boss. Don't engage him until Sif comes out or he will bug, be un-attackable, and will despawn. From here it's tank and spank.
Freya:

Easy. I cleared all of the guardians and mobs around the room. Just remember that you have to go through the motions of killing all the adds or things the boss spawns before she will stop healing herself.
Mimiron:

This is the fight I had the most trouble with. You will need to spec into heart of the wild to successfully solo this boss. Bring a caster weapon for extra oomph.
Phase 1: Not bad. Run out of shock blast, or whatever the castable ability that hits for 75k is called. Use frenzied regen to keep yourself topped.
Phase 2: Easy, just don't stand in the red targeting thing on the floor, or the bomb will one shot you. Stay behind the boss when he does the barrage.
Phase 3: Annoying, but easy. Kill the mobs, get the magnet, pull the head down and hit it with your face.
Phase 4: Possibly the one thing that will keep me from soloing Mimiron ever again. The boss has 3 sections, all of which need to be killed within about 10 seconds of each other. The bottom two can be melee'd, but the head is only reached by thrash, swipe, and FF. Oh, and wrath.
Spec into heart of the wild and you can do this. I got the two bottom sections of the boss down pretty low. Below 10%. Along the way, while the boss did it's barrage thing, I got behind, popped into caster form, and nuked the head with wrath to whittle it down. Save HoTW for the very end. When you have the two bottom sections low, where they can be killed within seconds of each other, wait for the next barrage and go nuts with HoTW and wrath. I saved renewal and barkskin for this part since you'll probably tank the boss for a minute in caster. When the head dies, swap back to bear and drop the other two sections.
One thing that makes this surprisingly hard is the fact that Mimiron does constant moderate to high damage that will eventually take it's tole. As a bear, you really need to do damage to heal yourself, so it's a delicate dance between staying healed and not killing some part of the boss too early. I think I got this on my 9th attempt. It can be a frustrating endeavor because the first 3 phases are laughably easy, but take a lot of time. It sucks wiping after 10 minutes.
General Vezax:

This fight is pretty easy and straight forward. I actually did the hard mode unintentionally, but it wasn't particularly difficult. Interrupt the boss when you can, kill the saronite vapors if you're not after the achieve, and win. Try to kill the boss reasonably quickly if you do the hard mode as you will get a shadow damage debuff that will eventually cause shadow crash to hit pretty hard.
Yogg-Saron:

In practice, the basics of this fight aren't hard. The thing that can make this fight hard is the assortment of debuffs you might get from the Corruptor tentacles. Spec kitty with Incarnation and Nature's vigil for this. Here''s the breakdown:
Phase 1: if you haven't done this fight before, you'll zone in and see a NPC named Sara in the middle of the room. She can't be damaged directly. The clouds in the room will spawn adds that, when killed, will damage her. I think it takes 7 or 8 to do the job. Keep in mind that the adds spawn in two ways. First, they will automatically come every 10 seconds or so, regardless of what you do. Secondly, they spawn whenever you make contact with one of the clouds. You can do this intentionally if you like, but be careful not to bite off more than you can chew.
Phase 2: After you damage Sara down to 0 health, Yogg will spawn and you will have to do a couple of new things. Around the room tentacles will spawn. The first kind you'll encounter is the constrictor. It'll grab you and the only way out is two either swipe or thrash until it's dead. They have low health, so this really isn't a problem. The #1 priority is for you is the Corruptor tentacle. These will continually pump out an array of obnoxious debuffs, most of which a guardian or cat druid will have no way to negate. Some stun, slow, or damage you. When phase 2 starts, killing the first and second corruptors is your first priority. After 20 seconds or so, Yogg will open up portals that spawn around his...body/head in the center of the room. Ideally you won't have an abundance of debuffs on you at this time.
Throughout the fight you have a debuff on you called "sanity." Certain things the mobs and boss do to you will deplete this down from it's initial value of 100. If you hit zero,i it's a wipe. What matters is, if you left all the guardians up (accomplished by talking to all 4 of them up in the antechamber, before the fight,) you have a way to replenish sanity. Look for the green vertical beams around the edge of the room. Standing in them will give you sanity back.
Phase 3/brain room: If you can successfully get into the brain room, you just need to run around and kill all the mobs inside. They have extremely low health, but are usually spread out. Kill them, then watch for the emote about the illusion shattering. A door will open up to the room where Yogg's brain is. Your objective is to get it to, I think 30%. For this fight I went kitty and spec'd into incarnation as the burst was invaluable for the brain.
There are two things to consider when you're in the brain room. First, the floating purple skulls will sap sanity from you if you face them. Avoid this where possible. Second, you are on a fairly short timer in this phase. The boss has a timer for "induce madness." If you're inside the brain room when the timer expires, it's a wipe. Pop your cooldowns and get the brain down.
Phase 4: At this point your success will depend a lot on how shitty RNG was to you in phase 2. You have a few priorities right at the start. First, you have to kill the guardians that spawn. If you pile up too many of them, they will simply destroy you. Even at 90. Secondly, face away from the boss's face at all times. If you don't you risk going insane. Next, you want to go around the room to clean up any tentacles that are still up. Corruptors are priority #1 in this respect. Once they're down your life will be much easier. If you have more than 2 up at this point you're probably screwed. Finally, you'll want to kill any Crusher tentacles as they put a debuff on you that reduces your damage done by 20% for each crusher that is up.
Once all the tentacles are dead, alternate damage between the boss and the guardians that spawn. This part will take a couple of minutes, but once the tentacles are all dead, all you really have to worry about is making sure you don't go insane. If you get low on sanity, just scamper up to one of the green beams, kill adds that spawn while you wait, and continue on DPS'ing the boss. I spent the majority of my time in this phase behind the boss as the insanity reducing ability he casts is a frontal cone thing.
Conclusion:
All in all, soloing Ulduar 10 on this toon was pretty easy. After seeing it once, I feel that I could go in and do all but two of the fights with total ease. Mimiron will take more practice, but I'm confident it wouldn't take me 9 tries to get it down again. Yogg only took, I think, four or five tries. Some of that comes from how unlucky you get with stunning or slowing debuffs in phase 2.
Anyway, this was a fun way to get come achievements, transmog gear, and to see some of my favorite WoW content. With health and damage where they are, I suspect that soloing old content like this is something a lot of classes can do. Hopefully this guide was helpful and fun to read.
Thanks for coming!
No comments:
Post a Comment